Difference between revisions of "Display2"
(→File(Seq)メニュー) |
(→Editメニュー) |
||
| Line 246: | Line 246: | ||
<br> | <br> | ||
| − | === | + | ===Edit Menu=== |
<table> | <table> | ||
<tr> | <tr> | ||
| Line 261: | Line 261: | ||
ROIInfo<br></p> | ROIInfo<br></p> | ||
</td> | </td> | ||
| − | <td><p align="left"> | + | <td><p align="left">Cancel the cut out space.<br> |
| − | + | Determine the cut out space.(MultiShape only)<br> | |
| − | + | Move the cut out space.(<br> | |
| − | + | Resize of the cut out space.(<br> | |
| − | + | Rotate the cut out space.(<br> | |
| − | + | Delete all cut out space.((MultiShape only)<br> | |
| − | + | Delete one cut out space.(MultiShape only)<br> | |
| − | + | Zoom in<br> | |
| − | + | Zoom out<br> | |
| − | ROI | + | Open ROI Information Window<br></p> |
</td> | </td> | ||
</tr> | </tr> | ||
| Line 277: | Line 277: | ||
====Cancle==== | ====Cancle==== | ||
| − | <div> | + | <div>Cancel the cut out space.</div> |
<table> | <table> | ||
<tr> | <tr> | ||
| Line 288: | Line 288: | ||
====OK==== | ====OK==== | ||
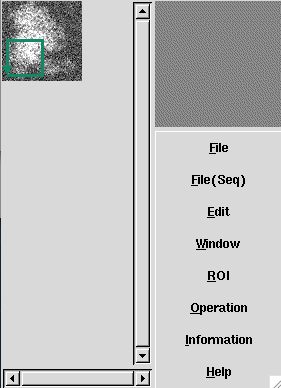
| − | <div> | + | <div>Determine the cut out space. (Before: Blue, After: Green)</div> |
<table> | <table> | ||
<tr> | <tr> | ||
| Line 299: | Line 299: | ||
====Move==== | ====Move==== | ||
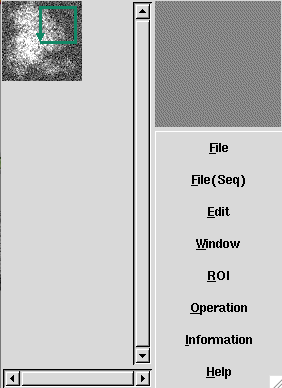
| − | <div> | + | <div>Move by dragging.</div> |
<table> | <table> | ||
<tr> | <tr> | ||
| Line 310: | Line 310: | ||
====Resize==== | ====Resize==== | ||
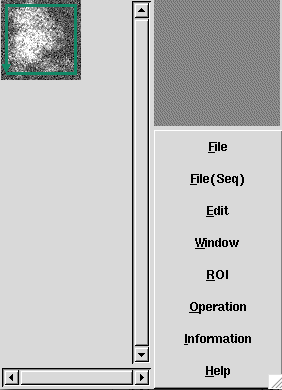
| − | <div> | + | <div>Resize by dragging.</div> |
<table> | <table> | ||
<tr> | <tr> | ||
| Line 321: | Line 321: | ||
====Rotate==== | ====Rotate==== | ||
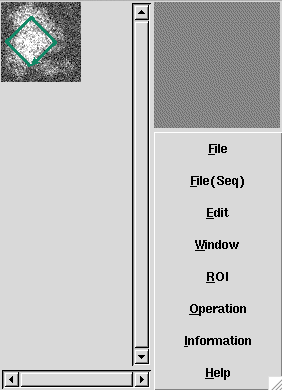
| − | <div> | + | <div>Rotate by dragging.</div> |
<table> | <table> | ||
<tr> | <tr> | ||
| Line 332: | Line 332: | ||
====All Delete==== | ====All Delete==== | ||
| − | <div> | + | <div>Delete all cut out space.</div> |
<table> | <table> | ||
<tr> | <tr> | ||
| Line 343: | Line 343: | ||
====Delete==== | ====Delete==== | ||
| − | <div> | + | <div>Delete the Current cut out space.</div> |
<table> | <table> | ||
<tr> | <tr> | ||
| Line 361: | Line 361: | ||
====ZoomIn==== | ====ZoomIn==== | ||
| − | <div> | + | <div>Zoom in at range: 1/n <-> origin <-> n times</div> |
<table> | <table> | ||
<tr> | <tr> | ||
| Line 372: | Line 372: | ||
====ZoomOut==== | ====ZoomOut==== | ||
| − | <div> | + | <div>Zoom out at range: 1/n <-> origin <-> n times</div> |
<table> | <table> | ||
<tr> | <tr> | ||
| Line 383: | Line 383: | ||
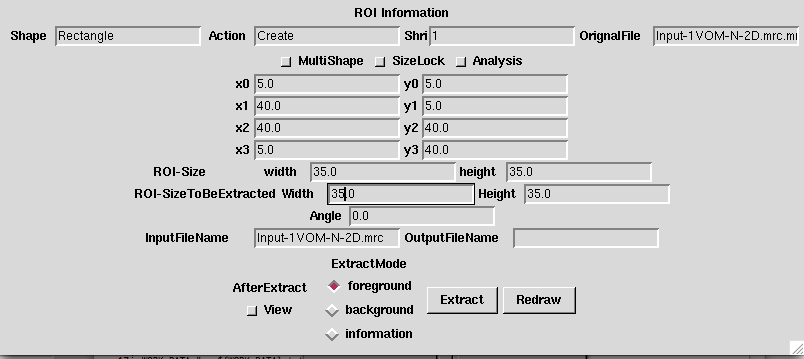
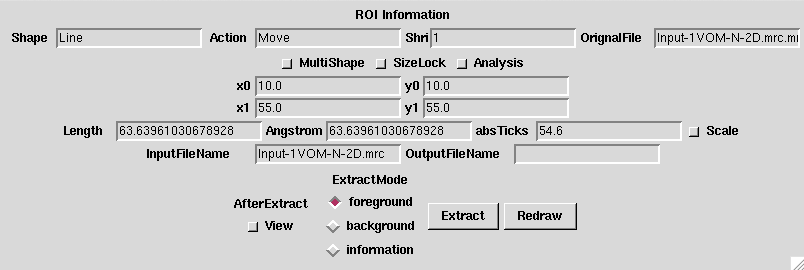
====ROIInfo==== | ====ROIInfo==== | ||
| − | <div>[[ROI]] | + | <div>Set and Output [[ROI]] file.</div> |
| − | <div> | + | <div>Case: Rectrangle</div> |
[[File:Outdata-ROIInfo-Display2.png]]<br> | [[File:Outdata-ROIInfo-Display2.png]]<br> | ||
<br> | <br> | ||
| − | <div> | + | <div>Case: Line</div> |
[[File:Outdata1-Line-Display2.png]]<br> | [[File:Outdata1-Line-Display2.png]]<br> | ||
<br> | <br> | ||
| − | <div> | + | <div>Case: Spline</div> |
[[File:Outdata1-Spline-Display2.png]]<br> | [[File:Outdata1-Spline-Display2.png]]<br> | ||
<br> | <br> | ||
=====Extract===== | =====Extract===== | ||
| − | <div> | + | <div>Extract [[ROI]] file</div> |
<br> | <br> | ||
=====AfterExtract===== | =====AfterExtract===== | ||
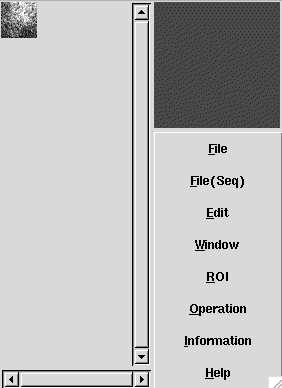
| − | <div> | + | <div>If you check View, open the new window of output [[ROI]] file after extract.(foreground only)</div> |
<table> | <table> | ||
<tr> | <tr> | ||
| Line 415: | Line 415: | ||
=====MultiShape===== | =====MultiShape===== | ||
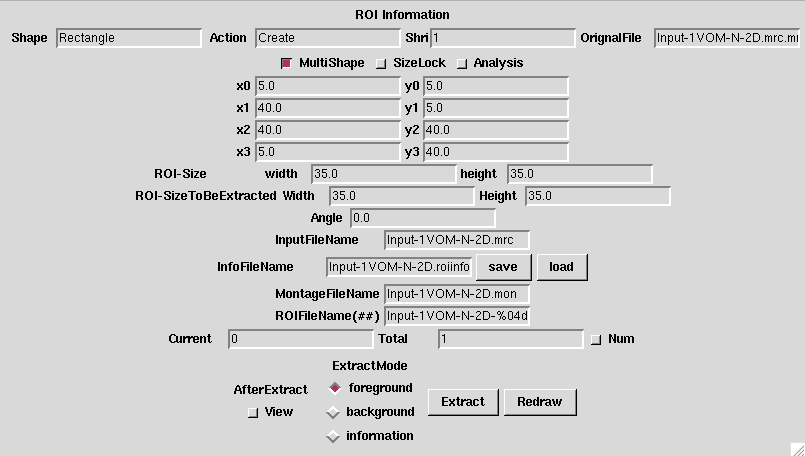
| − | <div> | + | <div>It can output multiple [[ROI]] files, and displays the MultiShape option.</div> |
[[File:Outdata1-ROIInfo-Display2.png]]<br> | [[File:Outdata1-ROIInfo-Display2.png]]<br> | ||
<br> | <br> | ||
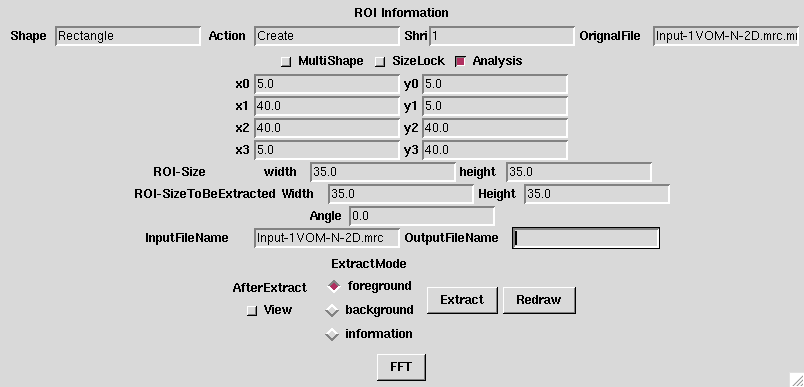
| − | <div> | + | <div>If you check Analysis, displays the FFT button.</div> |
[[File:Outdata2-ROIInfo-Display2.png]]<br> | [[File:Outdata2-ROIInfo-Display2.png]]<br> | ||
<br> | <br> | ||
Revision as of 07:34, 20 August 2014
Display2 is the Command for image display on Eos. It can also cut out ROI(Region of Interest) from image. In addition, it can display Fourier transform image. And, in the case of 3D data, it can display its section.
Contents
List of option
Main option
| Option | Essential/Optional | Description | Default |
|---|---|---|---|
| -i | Optional | Input: mrcImage | NULL |
| -t | Optional | Template for InputFile | 85.roi |
| -o | Optional | Logfile | .EosLog |
| -L | Optional | LowThreshold | 0.0(if not set, not use.) |
| -H | Optional | HighThreshold | 0.0(if not set, not use.) |
| -Zoom | Optional | Zoom for InputFile | 1.0 |
| -Inverse | Optional | Inverse (HighValue(dark)<->LowValue(bright)) for InputFile | |
| -display | Optional | :0.0 | |
| -geometry | Optional | Initial size and position of window. | 1024x1024+0+0 |
| -c | Optional | ConfigurationFile | NULL |
| -m | Optional | Mode | 0 |
| -h | Optional | Help |
-m details
| Value | Description |
|---|---|
| 0 |
-geometry 's argument format
-geometry (Size x)x(Size y)+(Position x)+(Position y)
Execution example
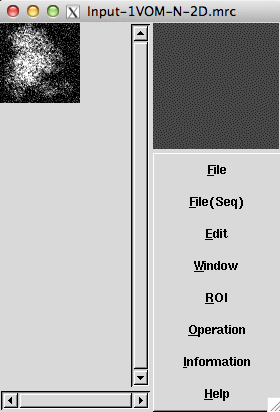
Input file image
 |
Min Max |
-18651.7 (10, 1, 0) 52942.7 (24, 39, 0) |
Case: Options only essential
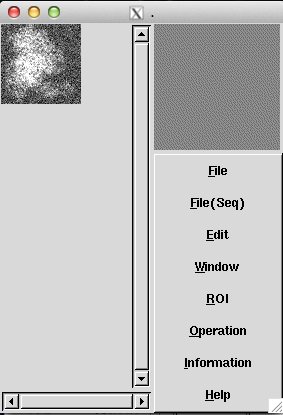 |
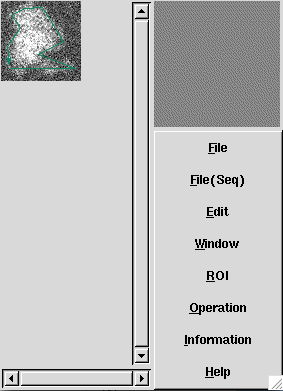
File File(Seq) |
file operation Seq file operation |
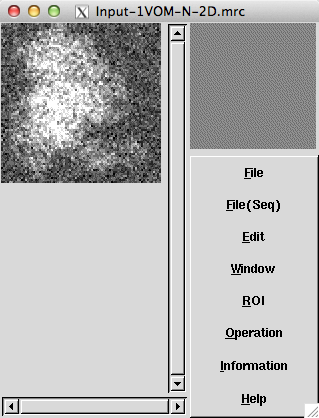
Option -L, -H
Case: L=0, H=30000
Option -Zoom
Case: Zoom=2
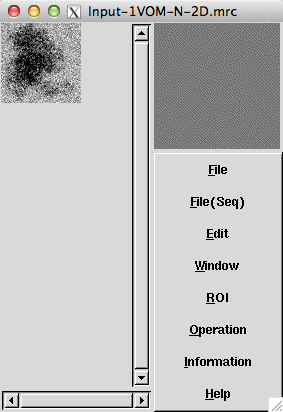
Option -Inverse
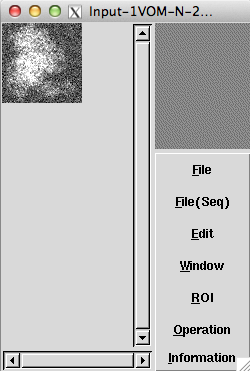
Option -geometry
Case: geometry=250x350+100+100
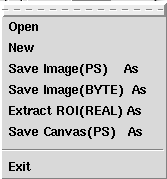
File Menu
Open
New
Save Image(PS) As
Save Image(BYTE) As
Extract ROI(REAL) As
Save Canvas(PS) As
File(Seq) Menu
 |
Open |
Open the file at same window. |
Open
New
Edit Menu
Cancle
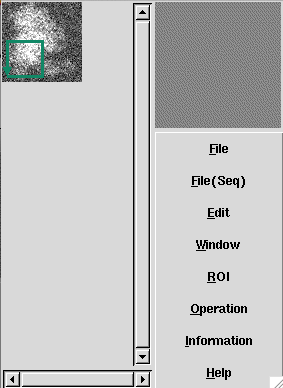 |
-> | 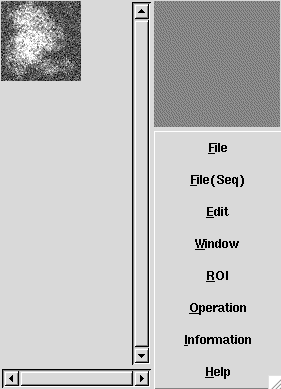 |
OK
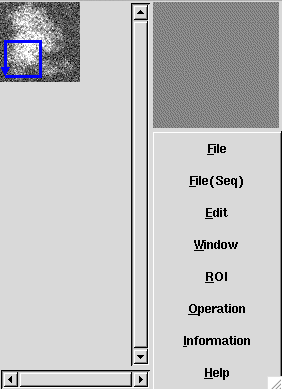 |
-> |  |
Move
 |
-> |  |
Resize
 |
-> |  |
Rotate
 |
-> |  |
All Delete
| -> |
Delete
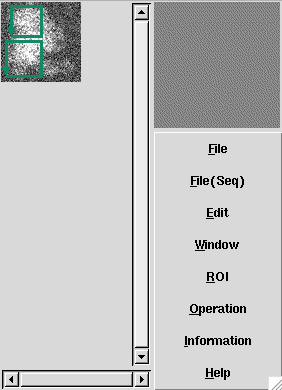 |
-> | 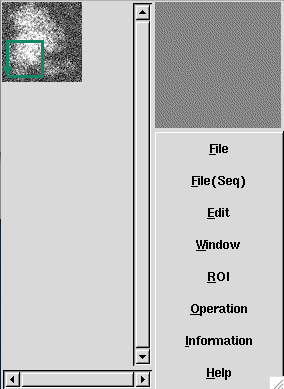 |
| -> |
ZoomIn
 |
-> | 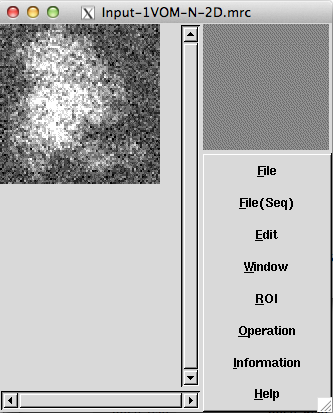 |
ZoomOut
 |
-> | 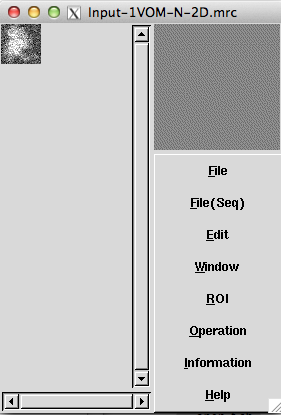 |
ROIInfo
Extract
AfterExtract
 |
-> |  |
Redraw
MultiShape
Windowメニュー
New Wondow |
新規のウィンドウを開く |
New Window
ROIメニュー
 |
Rectangle Line |
切り出し範囲を矩形サイズにする 切り出し範囲を直線にする |
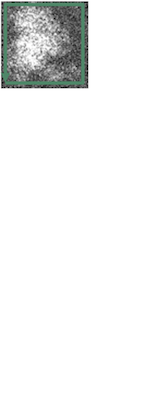
Rectangle
Min Max |
-10973.5 (23, 0, 0) 52942.7 (19, 34, 0) |
mrcImageROI -i Input-1VOM-N-2D.mrc -o Outdata.mrc -m 2 -r 5.0 5.0 40.0 5.0 40.0 40.0 5.0 40.0
Line
Spline
 |
Min Max |
-18651.7 (51, 1, 0) 52942.7 (12, 7, 0) |
mrcImageUnbentROI -i Input-1VOM-N-2D.mrc -o Outdata.mrc -x 80 -r 9.0 12.0 74.0 12.0 37.0 26.0 62.0 39.0 41.0 73.0 23.0 72.0 10.0 65.0 19.0 53.0 6.0 34.0 8.0 14.0
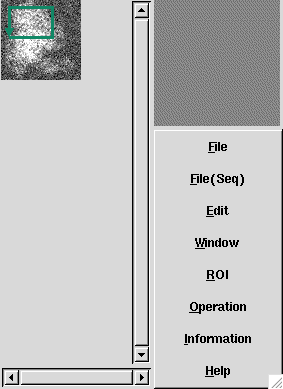
Create
 |
-> |  |
ZoomIn
ZoomOut
MultiROI
SizeLock
ROIInfo
Editメニューと同様
Operationメニュー
fft2d |
FFT処理を行う |
fft2d
Informationメニュー
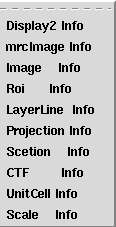 |
Display2 Info mrcImage Info |
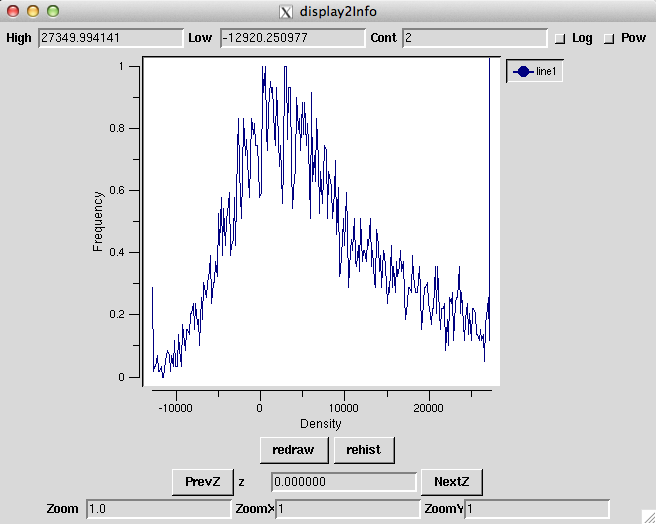
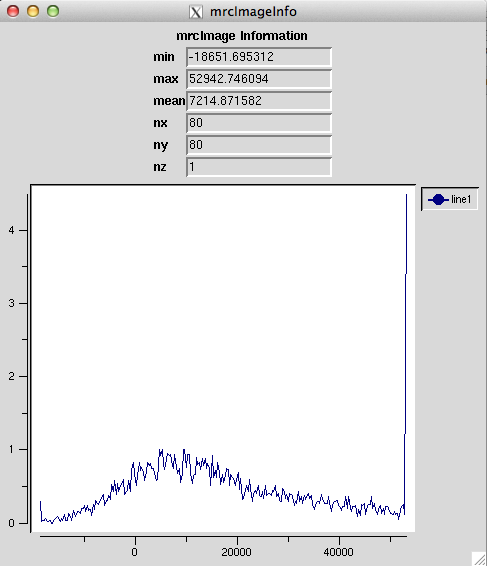
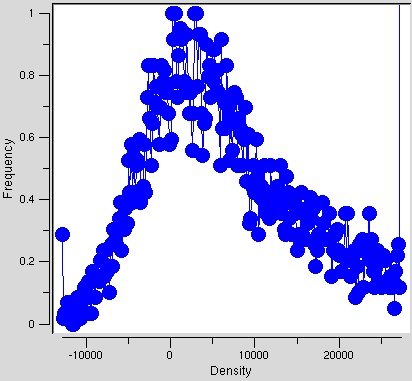
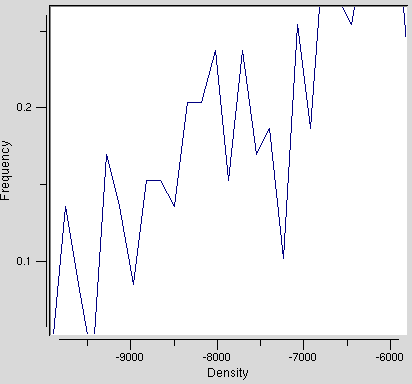
密度とFrequencyのグラフを表示する |
Display2 Info
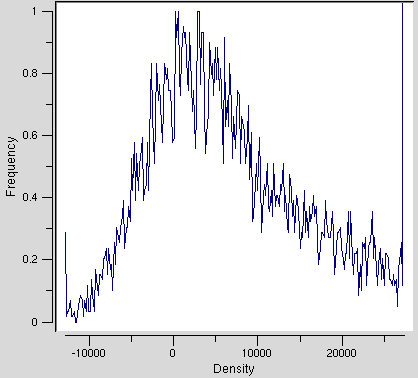 |
-> |  |
 |
-> |  |
 |
-> |  |
mrcImage Info
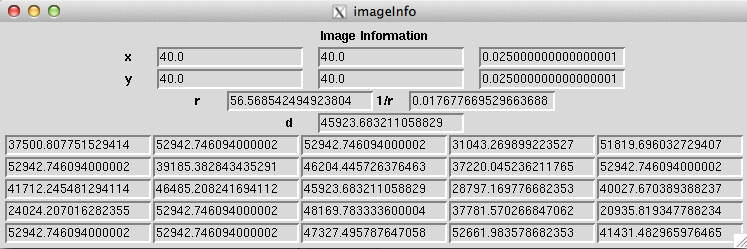
Image Info
Roi Info
Editメニューと同様
LayerLine Info
Projection Info
Scetion Info
CTF Info
UnitCell Info
Scale Info
Helpメニュー
Help |
Help |
